At long last, we finished squaring up the mortises for the spindles, carefully planed the spindles to fit, and finished cutting the mortises on the top rail for the ebony plugs. Finally, we can dry-fit the parts and see how it will look. ("Dry fitting" means assembling everything without glue, so that you can test everything out.) Here's how the headboard looks:
And here it is next to Jill, because everything looks better next to Jill:
This is still a long way from a finished product. We have not yet cut the profile on the top of the upper rail, rounded over any edges, installed any ebony plugs, sanded anything, applied a finish, etc. But this gives you a rough idea of how it will all fit together.
Speaking of all those details to come, here is my process for cutting the mortises for the ebony plugs. Keep in mind that there are 126 of these on the bed. And they each take a bit of time.
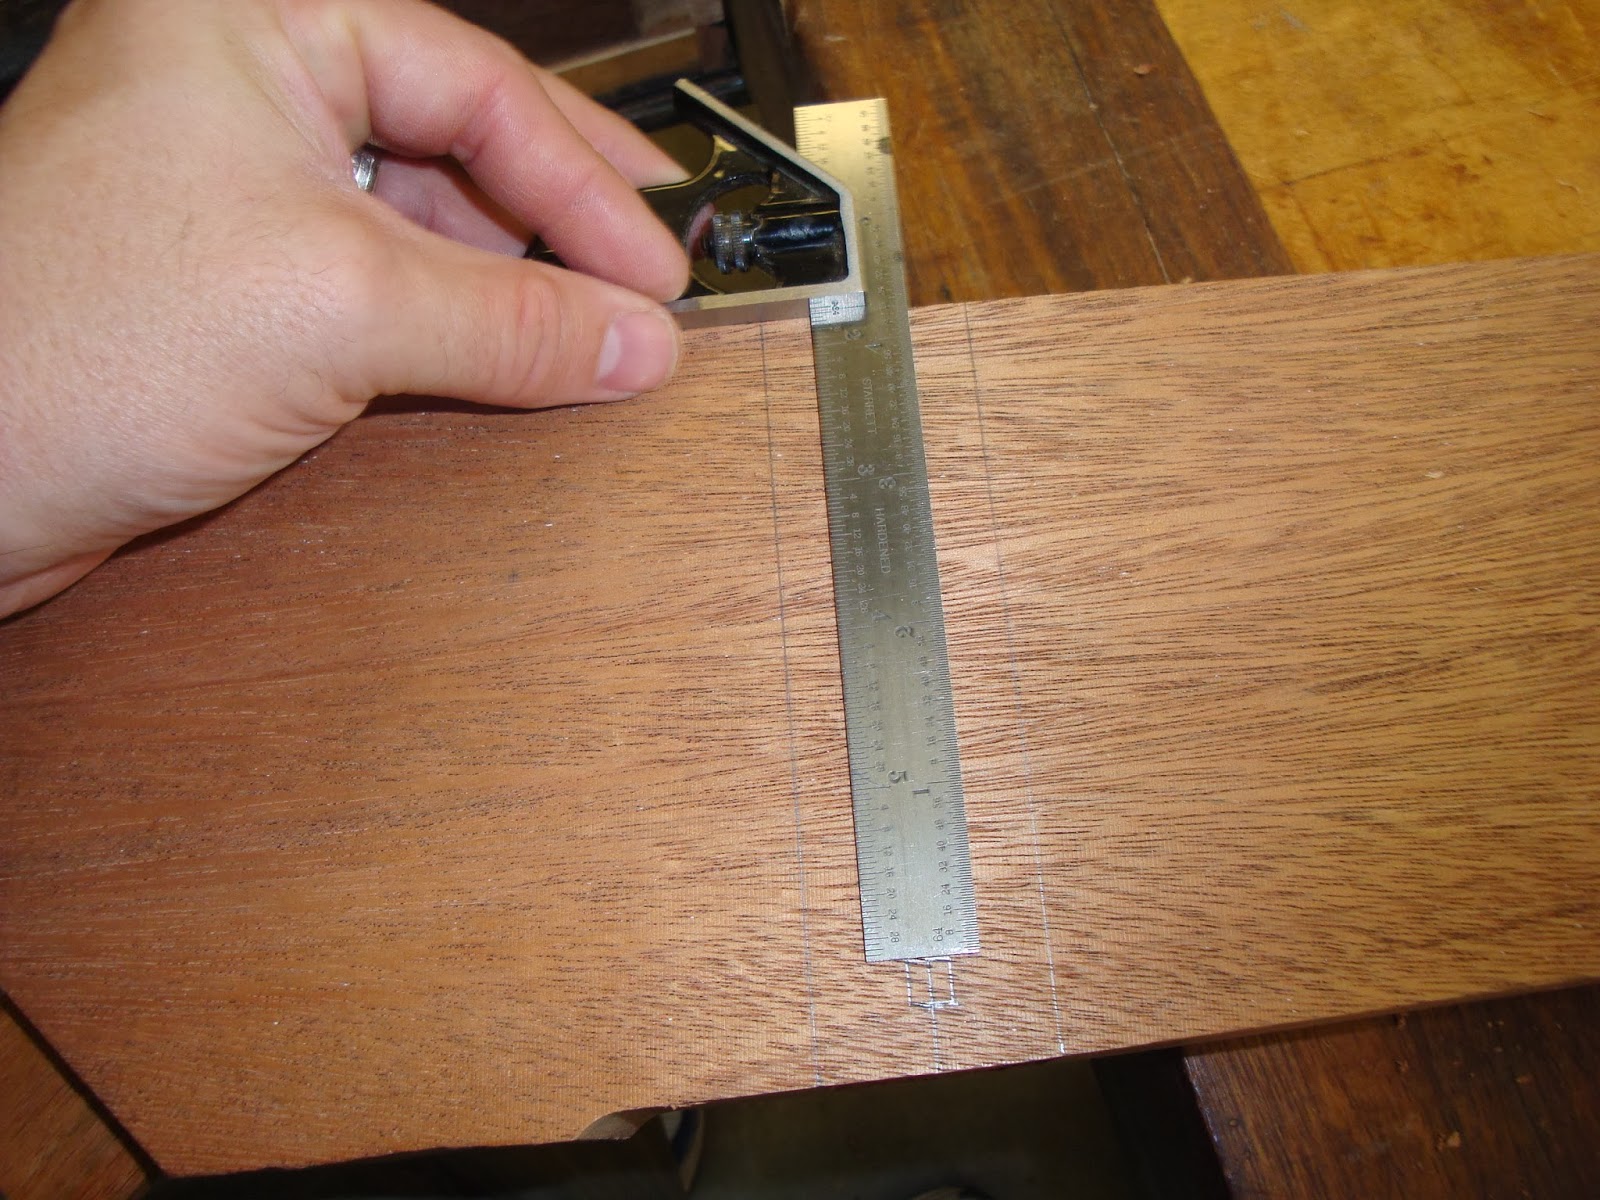
First, We have to lay out the mortise. Remember how the top edge of the top rail is still flat? We can use that flat edge as a reference to ensure the mortises are not crooked.
Next, I set a combination square to that flat edge of the rail, and adjust the ruler so that its edge is at the top of the mortise.
I set a mortising chisel flat against the edge of the ruler, right on the square we previously laid out. I hammer the mortising chisel into the mahogany.
I run a 3/16" drill bit through the chisel and drill a hole in the center of our mortise.
Next, I set a very sharp chisel against each edge of the mortise and tap to sever the wood fibers.
I clean out the waste, and we have a lovely mortise, ready to accept an ebony plug:
One down, 125 to go!


No comments:
Post a Comment