Tuesday, May 17, 2016

New Acoustic Guitar(s) Project

Well, I'm about to embark on another "two week" woodworking journey.  This time, Joshua (my son) and I will be making some acoustic guitars this summer.  I'm planning to take a one-week vacation at the beginning of summer and another at the end in which we'll do most of the work.  In the meanwhile, I'm doing a lot of the design work and building some of the jigs and tools.  I've built lots of guitars before, but Josh wants a smaller guitar, so I need a new set of jigs that will fit.

The first step is to make a body mold to layout the design and to hold the sides when constructing the body, and also some "spreaders" that will push the sides into the shape of the mold.  This weekend, I used my CNC router to cut the pieces for the molds and spreaders, which gives me a ridiculous level of precision.

MDF pieces that I cut with the CNC (this is enough to make 1/2 a mold and 1/2 a spreader; there will be 2 molds and 2 spreaders altogether):


Gluing up two spreader pieces (note the alignment holes that were machined on the CNC when the part was cut):


Pounding in dowels to align the two pieces perfectly:


All clamped up:


I did a similar process with the other spreader and the two halves of the body mold.  Hopefully tomorrow I'll have time to sand this mold and spreader and start machining the other set.

Sunday, June 14, 2015

Bed Finally finished

At last, it's done!  It didn't quite get finished during that 2-week break I took over Christmas of 2013, did it?  That's OK.  This turned out to be the biggest furniture project I've tackled -- there are a ridiculous number of little details and a huge amount of lumber.  I won't know what to think now that I no longer have a king size bed taking up most of the space in my woodshop!

I didn't post often about the construction details on the footboard, because it worked pretty much like the headboard, except smaller.  I finished it using a home-made "Danish Oil," which I make from equal parts tung oil, mineral spirits, and varnish.  I rub each coat in with 1500 grit sandpaper, and then rub out all of the finish I can after the coat sits for 20 minutes.  Each part got 7 coats, except the side rails, as I got eager to be done and so called it good after 3 coats.  Then Jill applied a coat of wax.  We're very happy with it.

The last picture shows Jill relaxing after all the hard work.  She looks small in the picture.  She's petite, but not as tiny as the picture suggests.  The truth is that the bed is enormous.  But in a good way.  We're very excited to have it done!


Monday, December 22, 2014

Well, it's Christmas again; must be time to build a footboard!

I started this blog about a year ago when Jill and I started building our bed.  We did a great job on the headboard, but then things stalled out on the footboard.  That's how projects go.  Most projects spend their whole life living unfinished in my shop.  But this one won't.  It's Christmas again, and I'm dedicating this week to finishing the footboard.  Or perhaps just to make real progress before it sits unfinished in my shop for another year.  Either way, it's shop time!

Our first step every morning this week is to apply another coat of finish to the headboard.  The finish is a hand-rubbed oil finish.  We apply it, sand it in with 1500 grit sandpaper, and then wipe off as much as possible, and let it dry for a day.  After seven coats, I wax it to give it a smooth sheen.  I took this picture tonight after this morning's coat had all day to dry.  It's looking really nice, and it definitely motivates me to finish the project.


And now, on to the shop.

First, a new addition to my shop -- a new bench dog.

 That's a really bad pun.  You can look up what a "bench dog" is.   But in this case, it's a nine-week old Dalmatian that we brought home last week.  Just in time for Christmas.

There are some true new additions to the shop.  Although I used several of them today, I failed to take pictures, so they don't count.  Without pictures, it's like I'm not even getting my money's worth out of it.  But I did get my money's worth out of a wonderful pattern bit that I bought from William Ng (owner and chief instructor at the William Ng School of Fine Woodworking in Anaheim, CA).  William calls it the "Big Daddy" bit.  And it is a big daddy indeed:


This big is capable of routing my 2" thick mahogany upper rail to final shape in one pass. 


This thing is a beast.  I get nervous using it, because it can definitely shred my entire hand and forearm in a moment's neglect.  But it is super cool.  Having it in my shop makes me more manly.  Other people want to be me.  Yep, this is the bit to have.

After trimming the upper rail to rough shape, I set up the legs, rails and the center panel for the footboard.  It's coming along nicely.

 
The center panel did give me quite a bit of grief.  The veneer glue didn't hold as well as I would have liked, so parts of the veneer were lifting just a little bit.  I injected some cyanoacrylate (super glue) and pressed it down.  That seems to have worked pretty nicely.  Tomorrow I'll sand out the panel and apply some shellac, and then it's on to final fitting and sanding of everything else before glue-up. 

But now I'm done for the night.

Sunday, March 9, 2014

Headboard finished!

Well the headboard is all done!  (Except about six more coats of oil finish.)

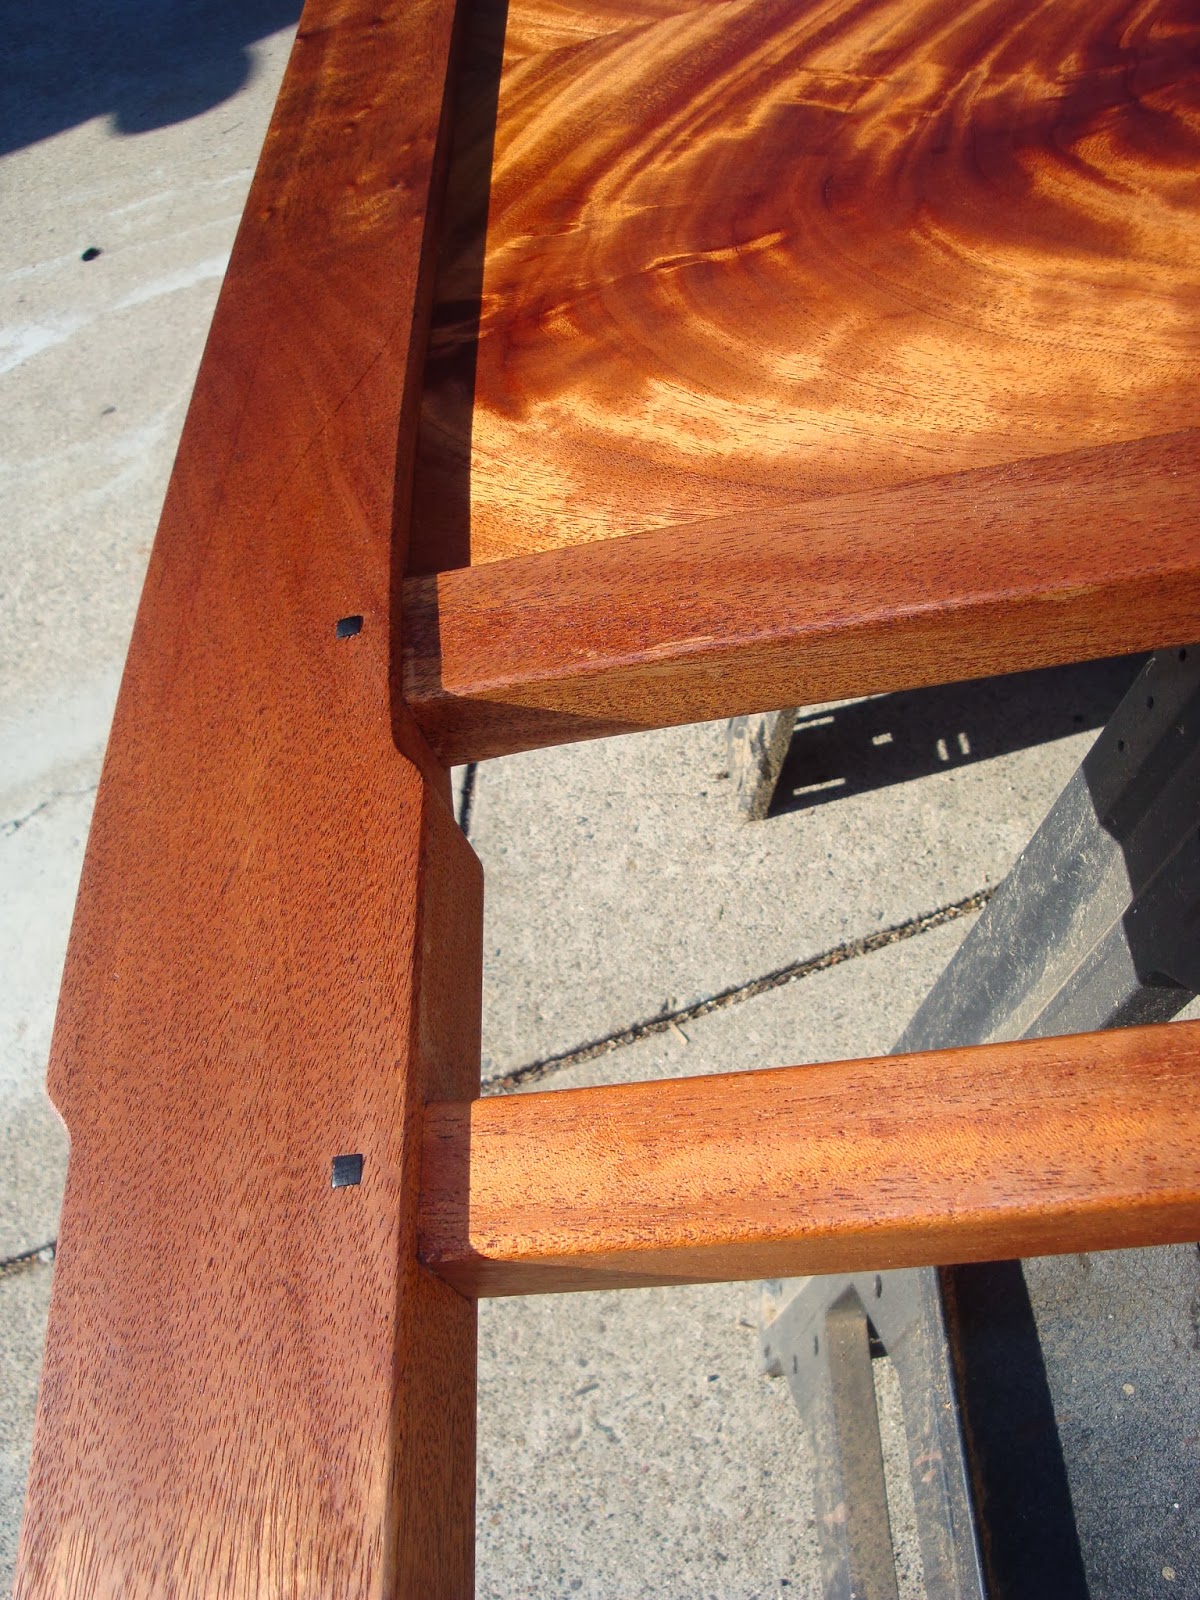
First step was one boatload of ebony plugs.  A few pics of the first corner, which is where the plugs are most dense.


Sanding the splines took forever.  You can see in the picture that the splines are gently rounded over.  It makes them pleasant to touch.  But it took a looonnnng time to sand and polish.

Once the plugs were done, there was a lot of little things to clean up.  There were a couple minor gaps that I filled with a sawdust/glue mixture, and a few dents and dings to sand out.  I'll skip over that stuff because it was boring (although it was about two days of boring).

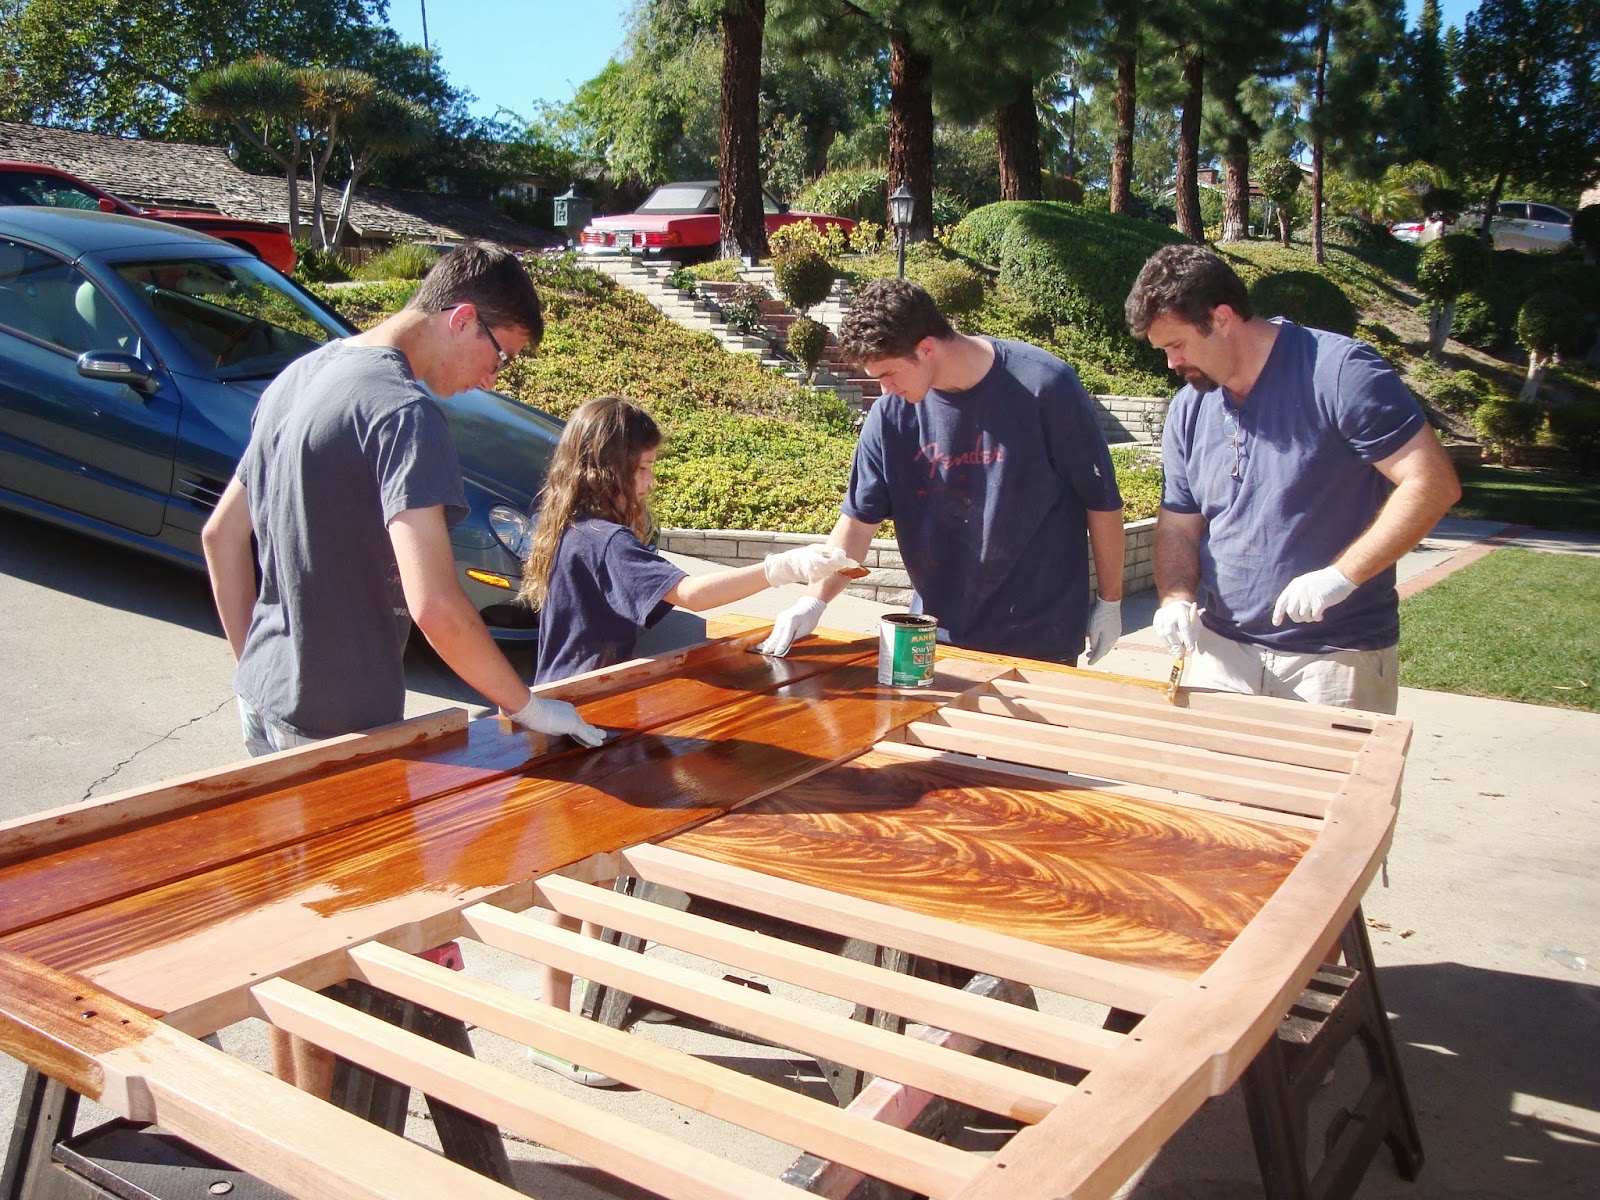
Today, though we applied the finish.  I'm using a hand-rubbed oil finish with a mixture that I make myself.  I mix equal parts tung oil, mineral spirits, and varnish.  We slather it on, sand it in with fine-grit sandpaper, and then rub it with paper towels until we remove all of the oil except the part that has soaked into the surface.  Applying the finish took the whole family about an hour.  We have to repeat the process six times, waiting a day for it to dry each time.

After only one coat, the finish is still very flat.  And it brought out some imperfections that I'll have to go back and correct.  But even one coat brings out the wonderful color of the mahogany and shows how the whole piece has come together.


At this point, it looks like a completed headboard.  But we've got six more coats to apply.  And each coat takes five of us working for an hour.  That's as lot of labor!  And at the end of the process, the photos will look very similar to what you see above, although there will be slightly more sheen (kind of a glow).  But in person, those extra coats make a huge different to the richness and depth of the color, and to how it feels.

So, six more coats of finish and on to the footboard!

Sunday, February 23, 2014

Headboard all glued up!

The headboard is finally all glued up!


We had a few challenges along the way.

First, we glued up the three rails on the bottom.  Unfortunately, there were enough humidity changes that the middle board had stretched to the point it was longer than the other two boards, such that the boards were perfectly flush on the right but not on the left.  See the little ledge where the two boards meet?


The result is that there's a little gap when the leg is on.  Can't have that.


I adjust the length of the board with a shoulder plane and a chisel.  The shoulder plane makes the edges perfectly flat, and the chisel gets the excess material that is between the tenons.


Once the mortise and tenon joints were perfected, the next step before the glue-up was to put some shellac on the veneered panel.  The rest of the headboard will get a hand-rubbed oil finish, which can be done after glue-up, but this panel must have a finish that provides better protection against moisture changes, to keep the veneer from splitting.  So it'll be a shellac finish, which must be applied now.  I brushed on a couple coats of shellac first.


I let the shellac dry for a week, and then sand it and apply some more finish using a french polish technique.


Next step was to glue it all up.  Jill and I did that Saturday morning.  Unfortunately, it did not go smoothly.  We ran into some snags, and nearly had a significant disaster.  Fortunately, Jill was pretty even-keeled and we got it squared away without any problems.  I didn't get any pictures of the glue-up itself, but we got a glued-up headboard to show for it.

With the glue-up finished, I pinned the mortise and tenon joints.  These joints are strong enough that pinning is not really necessary, but the pins will guarantee that these joints are still holding strong 100 years from now.  I start by drilling a 1/4" hole in the middle of the mortises for the ebony plugs.  I drill deep enough to go through the tenons but not all the way through the leg.


I then take a piece of 1/4" oak dowel with a little glue and drive it into the hole with a drift pin and a hammer.


Next, it's time to trim those "horns" off the legs and upper rail, and to trim the inner portion of that joint to create a roundover in the inner corner.  We start by placing the template over the corner and tracing the profile.


A jigsaw trims away the waste.

I clamp the template back on and use a router with a flush trim bit to get a perfect edge on both sides.  I use a rasp and file to clean it up, and then sand it clean.


At the ledge/upper rail joint, there will be an ebony spline on the outer and inner edges.  I cut the mortise for the inner spline before the glue up, but now it's time to cut the channel for the outer spline.  I do that with a router using a 5/16" slot-cutting bit.  I trim it up with a chisel and it's ready for the ebony.


I trim some ebony to be exactly the thickness of the channel and glue it in place.


Once I have the ebony glued into the inner and outer edge, I trim it with a special bit that William Ng designed specifically for trimming Greene & Greene style ebony splines.  It has a pair of bearings above and below the cutter, and the bearings are a little wider than the cutter so they leave the ebony proud of the mahobany.


And here's what it looks like after trimming the ebony.


Next time, I'll finish the splines on the left side, then a lot of little details (and boatloads of ebony plugs).